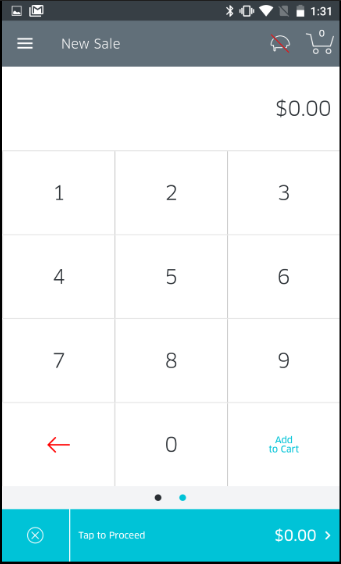
- Go to the Cart screen.
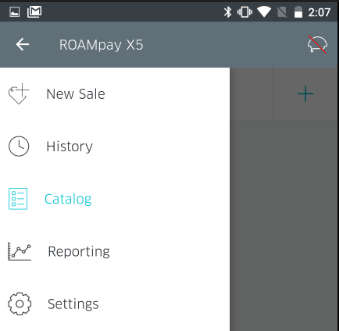
- Tap the Menu icon on the top-left corner to go to the menu.
- Tap the Catalog row
- This will bring up the Catalog Screen
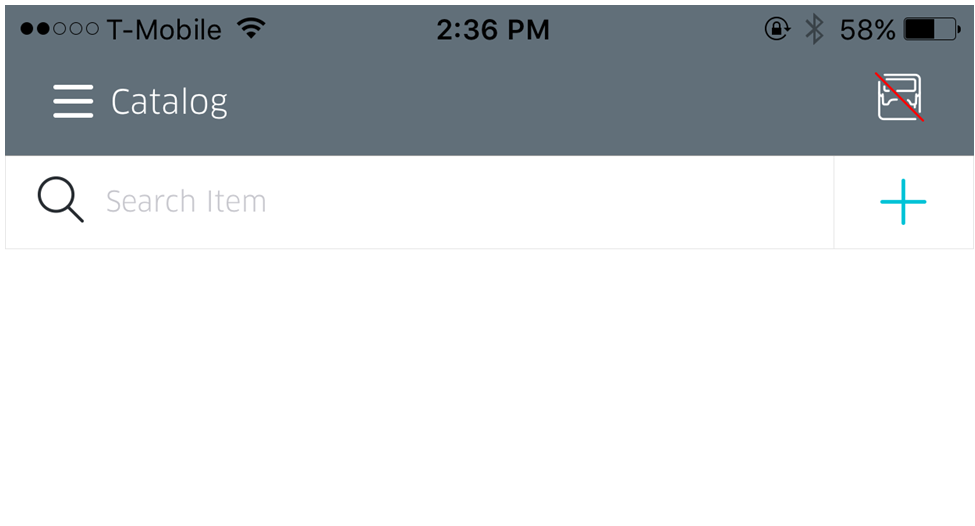
- Tap + icon to open the Add New Item screen.
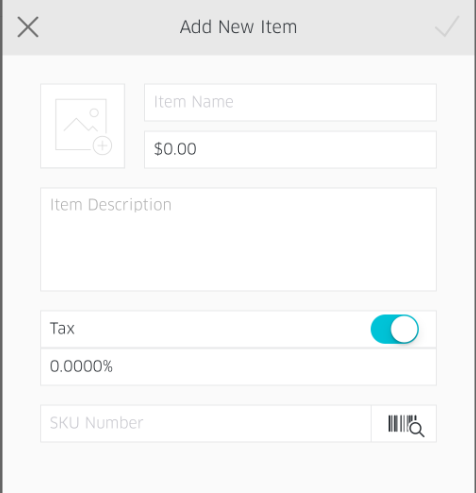
- Enter item information
- Item Name – Enter the name that you would like to appear in the catalog
- Price – Enter the price which you would like associated with the item
- Item Description – Enter a brief, optional message describing the item
- Tax – Set the tax percentage associated with the item
- Avatar – Tap the empty avatar button to add a picture you would like associated with the item.
- New Photo – This will bring up the camera, where you will be able to take a photo for the item.
- Existing Photo – This will bring up the camera roll, where you can select a pre-existing photo for association with the item.
- Scanning the SKU Number
- Tap the Barcode Icon next to the SKU Number field to launch the barcode scanner.
- Use the view finder to focus on the barcode to be scanned.
- After the barcode is successfully scanned you will return to the Add New Item screen, and the SKU number field will be populated.
- Tap the Check-mark in the upper right hand corner to save.
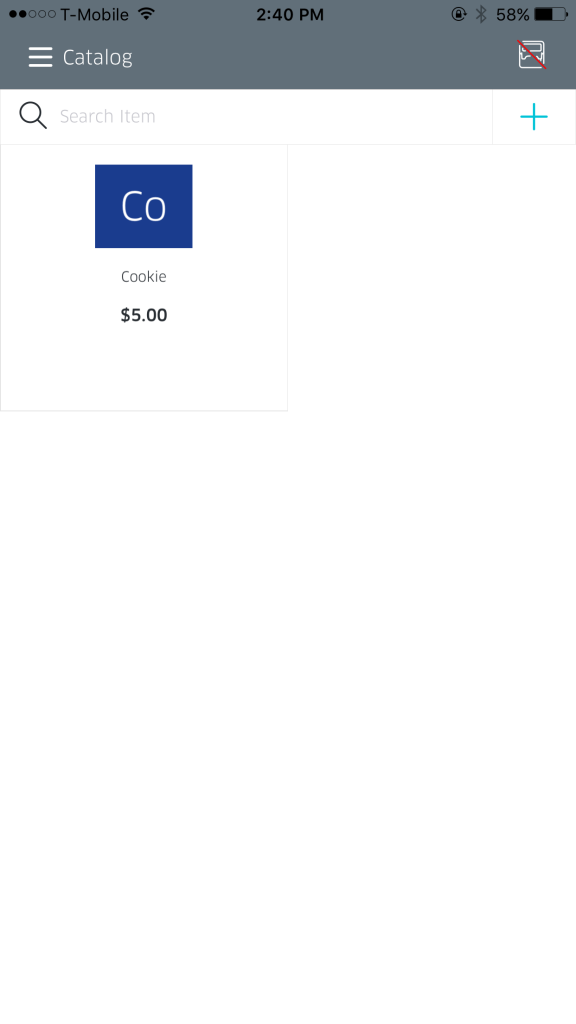
- The new item will be seen in the inventory.