- Go to the Cart screen.
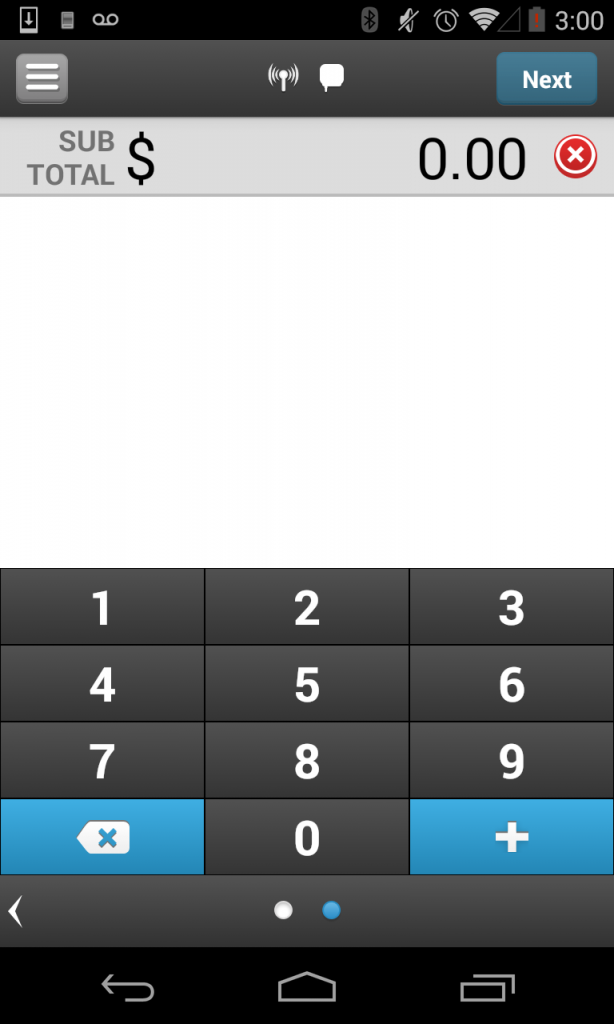
- Tap the Menu icon on the top-left corner to go the Settings section.
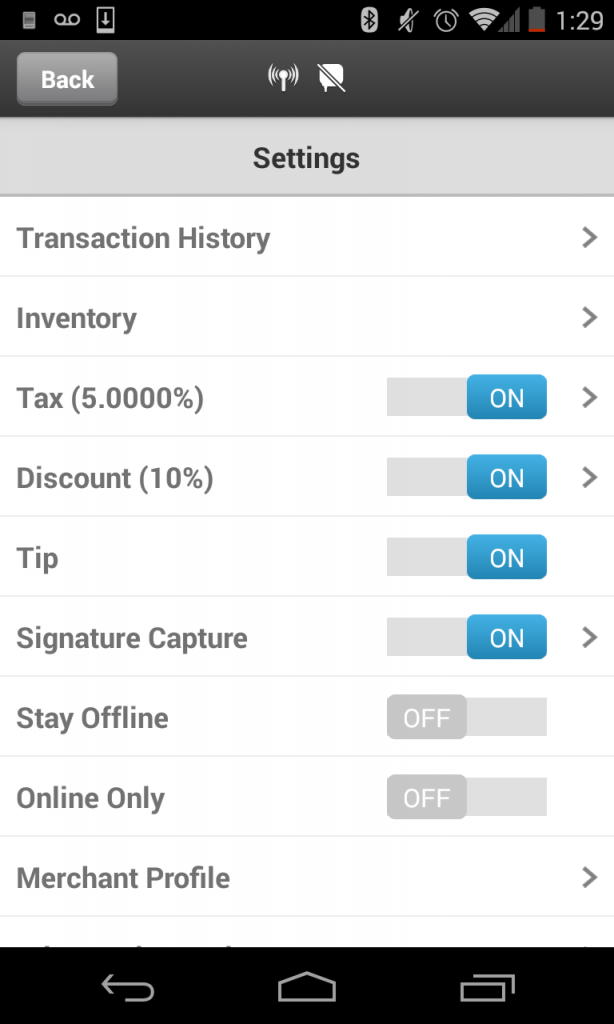
- Tap the Merchant Profile row.
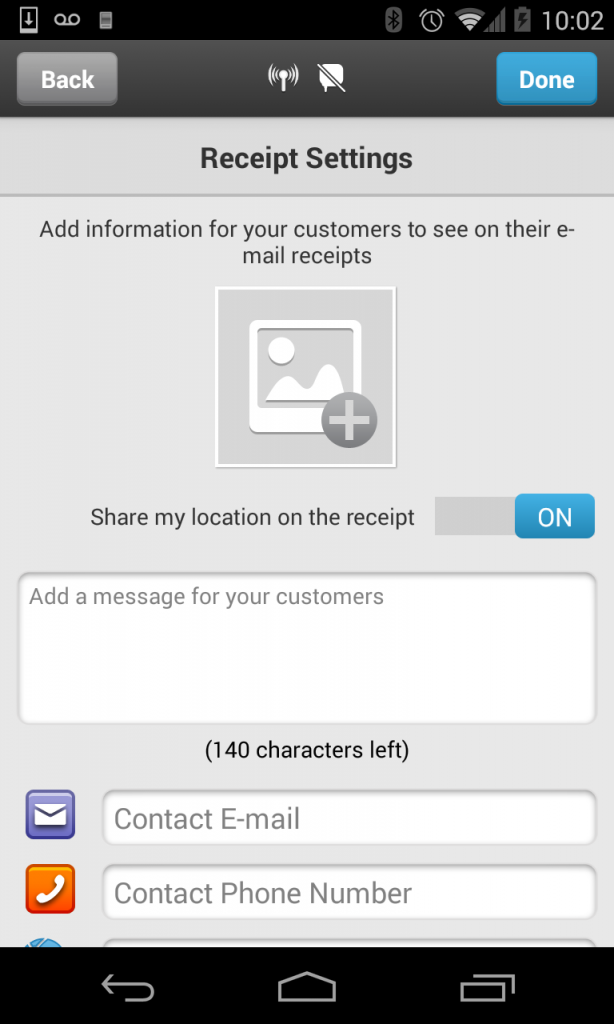
- Logo: Tap the Add Image icon or your current Logo. On the pop-up dialog, tap Existing Photo to select a photo from your phone, or tap New Photo to capture a new photo using your phone’s camera. The logo must be 5MB max, PNG or JPG formats accepted.
- Share my location on the receipt: Tap the On/Off slider to toggle between the options. When this toggle is set to ON, the map of the geo-location at the time of the transaction will be shown on that transaction’s email receipt.
- Message for your customers: Enter the message you wish to have on your receipt. There is a 140 character limit.
- Email: Tap the Contact E-mail field, and enter or edit your email address.
- Phone Number: Tap the Contact Phone Number field, and enter or edit your phone number.
- Website URL: Tap the Web Site URL field, and enter or edit your website’s address.
- Twitter Username: Tap the Twitter Username field, and enter your Twitter username without the symbol.
- Facebook URL: Tap the Facebook URL field, and enter or edit the URL of your Facebook page.