A profile is a default set of configurations defined by either a Client or a Sub-Client. A profile is generally based on payment transaction features for an industry vertical (such as Retail, Restaurant, QSR, Mini-store, …) and the parameters required by the processor integrated within that profile.
Thus, a profile is a template that combines permissions defined by a Client/Sub-Client for a merchant organization along with abilities of the processor that serves those merchants. Every merchant organization belongs to some profile.
1. First, log in to ROAMsupport6 by following the steps outlined here.
2. On the sidebar, open the Clients menu.
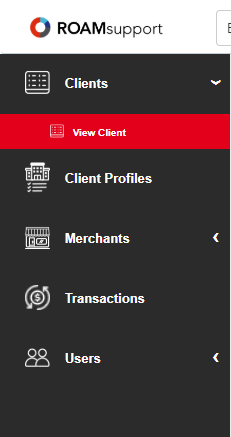
3. Click on View Client, under the Clients menu.
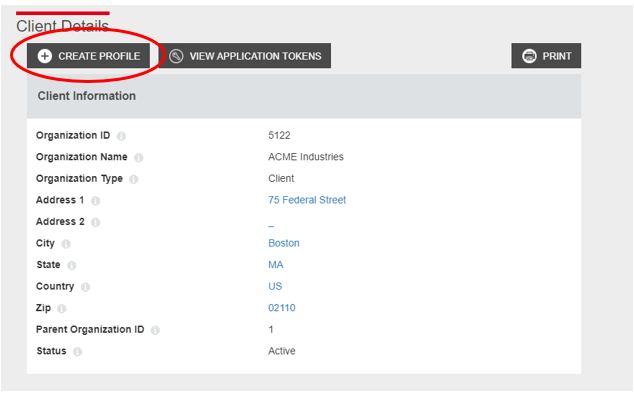
4. You will now be presented with the Client Details page, as shown below. Click on the Create Profile button, along the top banner.
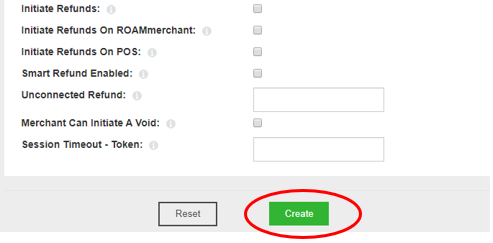
5. Next, you’ll be shown the Create Profile screen. This will show a comprehensive list of all configurable options for creating a profile underneath a specified client. By default, the profile will be created for the logged-in client.
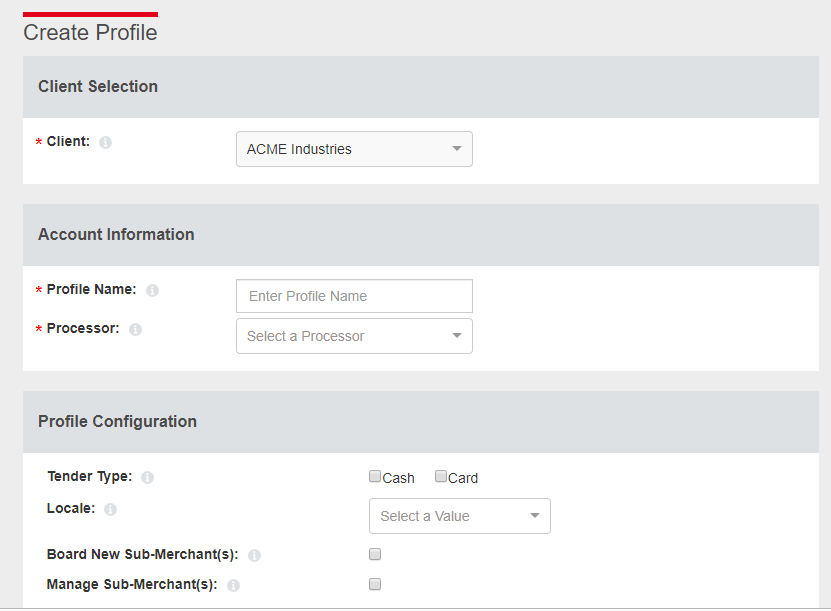
6. Once you have filled in the applicable fields, click on the Create button at the bottom to create the profile.
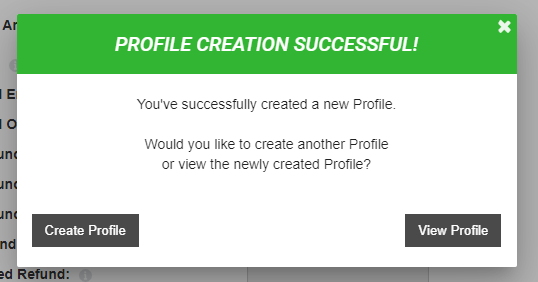
6. If successful, you’ll be prompted with a successful notification as shown below. You’ll have the option to create another profile, or view the profile just created.